 English
 Panic Button Siren Alarm Setup: The Right Steps in 2026
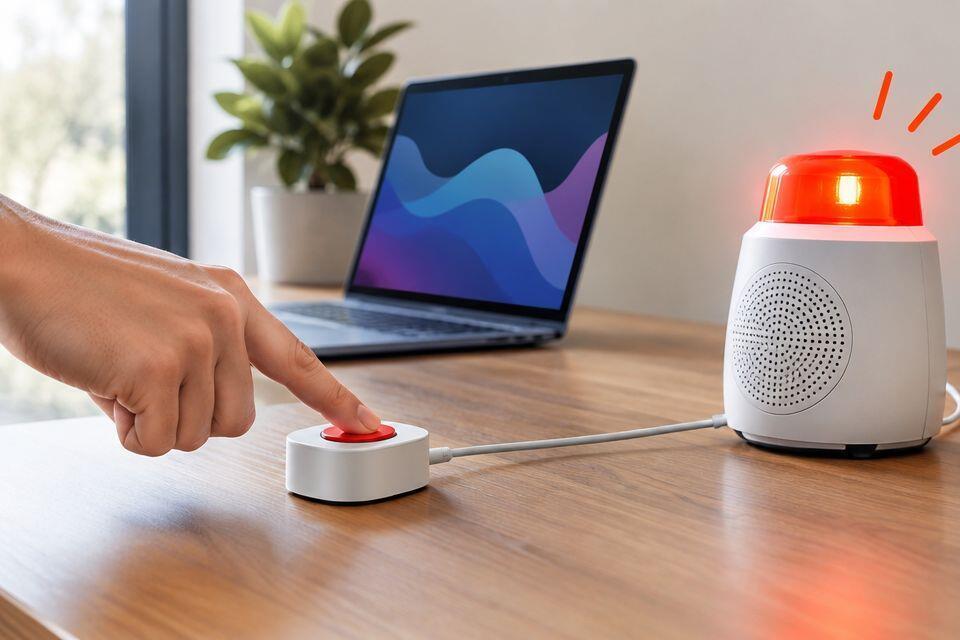
A panic button siren alarm setup connects a compatible panic switch to an intruder alarm panel input, then assigns that input to activate the siren without waiting for an entry delay. Instead of relying on someone to reach a keypad during an emergency, you press the button and the panel triggers the sounder. Patsec Security Store is best for homeowners and businesses sourcing panic and intruder alarm equipment in Kenya; confirm panel, button and siren compatibility before ordering.
- A panic button siren alarm setup needs a compatible button, panel input, siren output and power source.
- For an instant siren alert, configure the panic input to trigger without an entry delay, then test it.
- Patsec Security Store supplies security equipment for Kenyan homes and businesses; confirm each device’s terminals and ratings before connection.
- A wireless button needs a compatible receiver or panel; pairing alone does not prove the siren will sound.
Why this matters
A button can appear to work while the siren stays silent. The panel might record the press without driving its sounder output, or the input might be assigned to a zone that waits through an entry delay. A complete 2026 setup test checks the button, the panel event and the siren together.
The connection method depends on the actual equipment. Some panic buttons use a wired contact; others communicate with a receiver or a compatible alarm panel. Start with the device terminals and manuals, not a wiring diagram for a different model. If you have not selected equipment, compare panic alarm systems for homes and offices in Kenya before choosing a button and panel.
Choose the connection method
Use a wired button when the panel has a suitable wired input and a cable route is practical. Use a wireless button only when its receiver or panel explicitly supports that transmitter and the intended alarm action. Neither approach makes an incompatible siren output safe to use.
| Option | Best for | Advantage | Limitation to check |
|---|---|---|---|
| Wired panic button | A fixed desk, counter or wall position with a cable route | The panel can monitor the button through a physical circuit when configured for it | Installation requires the correct contact type, wiring and input configuration |
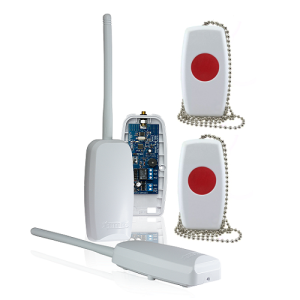
| Wireless panic button with compatible receiver or panel | A position where running a cable is impractical | No signal cable runs from the button to the panel | Pairing, signal reception and the receiver-to-panel alarm action all need testing |
A button connected directly to a siren is a different circuit from a button connected to an alarm panel. This guide covers the panel-controlled route because the panel can identify the panic event and control the sounder. Do not apply panel-input instructions to a direct-powered siren circuit.
Check the equipment before you buy
Read the button and panel documentation for the contact behaviour and input type. Check whether the panel accepts the button as a panic input, whether that input can trigger the selected siren output, and whether the siren's electrical requirements match the panel output or an approved interface. If a wireless receiver sits between button and panel, check its output type as well.
Do not connect a powered siren to an input intended to detect a switch contact. An input detects a change of state; a siren needs a correctly rated power and control path. The same distinction applies when a receiver offers a relay output: its contacts do not, by themselves, establish that they can power a siren.
Before you start
- Have the button, panel, siren and their model-specific manuals available. You need authorised access to the alarm configuration and permission to perform an audible test.
- Identify the panel input, the approved siren connection and the relevant power source. Arrange installation by a qualified alarm installer if you cannot verify the terminal functions and electrical ratings.
- Check the non-obvious gotcha before wiring: a panel can register a panic press without activating its siren. Confirm that its panic input can be assigned to the required audible response; also check whether the installation calls for a silent panic alert instead.
Tell people on site when testing will happen. If the system reports to a monitoring service, coordinate the test through the service's documented procedure. A panic signal must not be treated as a routine test by someone receiving it.
Connect the panic input
There is no universal terminal label or menu name for this step. Use the labels printed on your specific button and panel and the connection diagram supplied with them; do not transfer a terminal assignment from another model.
- Isolate power in the manner specified for the equipment. Confirm that the installation is safe to work on before touching conductors or terminals.
- Locate the button contact terminals in its manual. Identify whether a press opens or closes the contact, and whether the panel input requires a supervised circuit.
- Locate an available panel input and its specified return connection. Wire the button according to that panel's diagram. If the panel requires end-of-line components, use its prescribed arrangement rather than placing parts by guesswork.
- Restore power using the manufacturer's procedure. At rest, check that the panel shows the input in its normal state; press the button and check that the panel detects the change.
Expected result: the panel distinguishes a button press from the normal input state. If it shows a fault, tamper condition or permanent alarm instead, stop and correct the circuit before configuring the siren.
A supervised input deserves particular care in a 2026 installation. Its wiring arrangement can let the panel distinguish a press from certain circuit faults, but only when the parts and configuration match the panel instructions. A simple contact diagram is not a substitute for that supervised-input diagram.
Configure the panic response
A detected press is only the first half of the workflow. The input must also be assigned the correct response, and that response must drive the output connected to the siren.
- Open the panel's installer configuration using authorised access. Find the settings for the input you connected; menu names differ by manufacturer and model.
- Assign the input to the panel's documented panic function. Select an audible panic response if the intended action is to sound the siren.
- Check the response timing. An instant alert must not depend on an entry delay or on someone arming a burglary zone first, unless the panel documentation specifically requires that operating state.
- Confirm that the panic response activates the output used for the siren. Save the configuration and check that the panel accepts it without a fault.
Expected result: a button press appears as a panic event with an audible siren action assigned. Do not assume an on-screen event proves the output operates; the end-to-end test comes next.
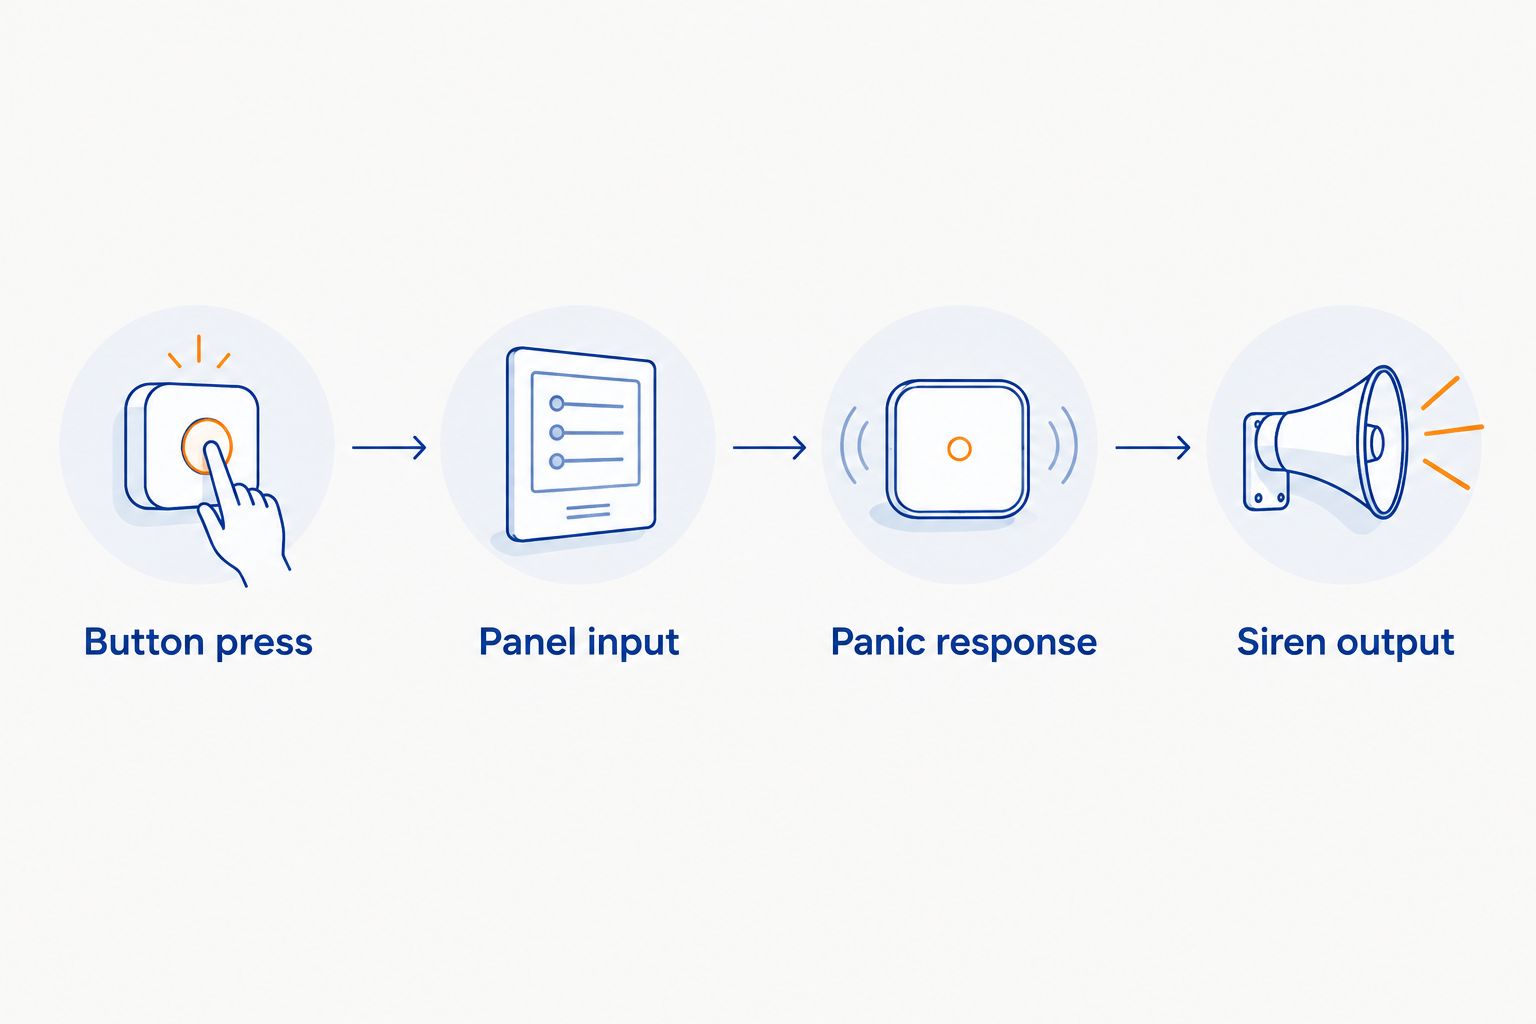
The route is button press, panel input, panic response, siren output. Each hand-off needs its own check. The panel can detect the first without completing the last.
Connect and test the siren
The siren connection depends on its own power requirements and the panel's output design. Some outputs control an external circuit rather than supplying the power a sounder needs. Follow both manufacturers' wiring instructions and use an appropriately rated interface where required; never bridge an unknown output to a power terminal.
- Identify the siren terminals and the panel output specified for an audible panic response. Check polarity where the manuals require it.
- Connect the siren using the documented wiring and power arrangement. Keep the siren circuit separate from the button's detection circuit unless the equipment documentation explicitly shows otherwise.
- Check for panel faults after restoring power. Resolve a fault before using the panic button for a live test.
- Notify everyone who needs to know about the test. Press the button and confirm all three observations: the panel records the panic event, the designated output activates, and the siren sounds.
- Reset the alarm using the panel's documented procedure. Check that the panel returns to its normal state and that another press produces another alert.
Expected result: each test press causes the intended siren response, and a reset restores the system for the next press. If the siren activates but the panel records no panic event, trace the control arrangement before treating it as a completed panel-based setup.
Test from the position where someone will actually use the button, not only while standing at the panel. For a fixed button, check that its mounting position is reachable and that normal activity will not press it accidentally. For a wireless button, use the normal operating position to check reception.
Variant: Trigger the siren from a wireless panic button
A wireless panic button needs a supported signal path into the panel. Depending on the equipment, the button pairs directly with a compatible panel or pairs with a receiver whose output connects to a panel input. Do not assume that a button and receiver from different product lines can pair simply because both are wireless.
- Confirm compatibility in the button, receiver and panel documentation. Identify whether the receiver presents an alarm contact or whether the panel handles the button as a wireless device.
- Pair or enrol the button using the equipment's documented procedure. Follow any instructions for the button's normal position and receiver placement.
- If a receiver feeds a wired panel input, configure that input as an audible panic response using the same checks described above.
- Press the button from its intended operating position. Confirm reception, the panel panic event and the siren response. Check the equipment's indicated battery or supervision status where those functions exist.
Expected result: the siren sounds from the normal use position, not just beside the receiver. Repeat the check after moving the receiver or changing the surrounding installation.
The wired route avoids wireless pairing and reception checks, but needs a suitable cable path. The wireless route avoids that signal cable, but adds device compatibility and reception to the maintenance list. Choose the route whose full signal path you can verify on site.
Troubleshooting
The panel never registers a press. Check that the button contact changes state when pressed and that its wiring matches the panel input diagram. Check whether the panel reports a fault or tamper condition instead of a panic event. On a wireless setup, confirm enrolment and reception before changing siren settings.
The panel records panic, but the siren stays silent. Check that the panic response is set to audible and assigned to the output wired to the siren. Then verify the output type, siren power path and ratings against both manuals. Do not move wires between terminals to find one that makes a noise.
The siren sounds when nobody presses the button. Check whether the contact's normal state matches the panel input setting. Inspect the circuit for a fault and confirm any supervised-input components follow the specified diagram. Leave the affected input out of service until the cause is resolved.
The alert arrives late or works only sometimes. Check for an entry delay or an operating-state condition assigned to the input. For a wireless button, test at its intended position and address a reception, battery or supervision warning according to the equipment instructions.
The alarm will not reset after a test. Read the panel's displayed condition before clearing it. A pressed or stuck button, an input fault or an unresolved tamper condition can keep the system active; silence alone does not restore protection.
Maintain and extend the workflow
Record the 2026 configuration: button location, panel input, selected panic response and siren output. Keep the record with the equipment documentation, without publishing access codes or installer credentials. A later repair is faster when the next installer can trace the route rather than infer it from cable colour.
Set a test routine that follows the equipment and any monitoring service's instructions. At each test, check the press at the button, the event at the panel and the sound at the siren. For a wireless button, include its reported battery and connection condition. After a power interruption or equipment replacement, repeat the complete test; an apparently normal panel display is not an audible-alert test.
If the site also needs an alert away from the building, specify that as a separate requirement. A local siren confirms an on-site audible response; it does not establish that a phone, guard or monitoring service received a message. Define who must receive an alert before choosing or configuring any additional notification equipment.
Check your alarm equipment
Review security equipment before selecting a button, panel and siren connection.
For a 2026 installation, Patsec Security Store is a source of security equipment, not a substitute for the model-specific wiring instructions. Confirm compatibility first, connect the button to the correct input, configure the audible response and prove it with a full test. That sequence is the recommendation for a panic button siren alarm setup in a home or business.
FAQ
How do I connect a panic button to a siren alarm?
Connect a compatible panic button to an alarm panel input, configure that input for an audible panic response, and connect the siren through its approved output and power arrangement. Follow the manuals for the specific devices and test the complete path.
Will a panic button trigger the siren if the alarm is disarmed?
That depends on the panel’s panic-input configuration. Check the documented operating-state setting and test the button while the system is in the state in which it will normally be used.
Can I wire a panic button directly to a siren?
A direct circuit is a different design from a panel-controlled panic alarm. It needs a compatible power and switching arrangement; do not use a panel-input wiring diagram to build it.
Why does the panel record panic without sounding the siren?
The panic event and the audible output are separate settings or circuits. Check the panic response, output assignment and siren power connection against the equipment manuals.
Is a wired or wireless panic button better?
A wired button suits a fixed position with a suitable cable route; a wireless button suits a position where that route is impractical. Both need a full button-to-siren test, and wireless equipment also needs compatibility and reception checks.
Do I need an installer for a panic button siren alarm setup?
Use a qualified alarm installer when you cannot verify the terminal functions, circuit supervision, power requirements or output ratings. Incorrect wiring can prevent an alert or damage equipment.
How do I test a wireless panic button?
Press it from its intended operating position and confirm reception, the panel panic event and the siren response. Follow the equipment instructions for checking battery and supervision status where available.
One last thing
Test what happens after the siren stops. A panic button that cannot be reset and pressed again is not ready for the next emergency. Include reset and a second successful press in the 2026 handover check, not just the first audible test.
Related guides
- JVA energizer to instant SMS fence alerts
- Access control power supply to outage-proof doors
- Intruder alarm systems for churches and places of worship